
- Help center
- Other Industry Applications
- Damage Services Humidity Issues, Design & Solutions
How to setup the Cotes Window Kit with a Cotes dehumidifier in 3 easy steps
It is easy to setup the Cotes Window Kit. It takes 30 seconds with no extra equipment required
Step1:Remove the Cotes Window Kit from the package and make sure all items are present.
|
|
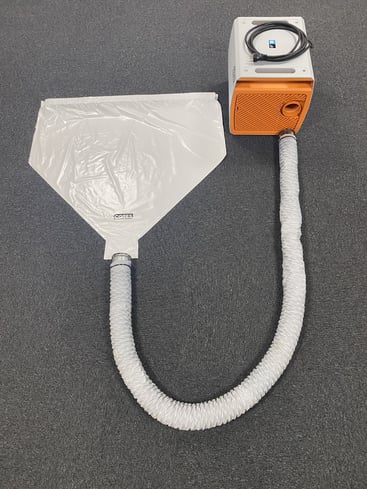
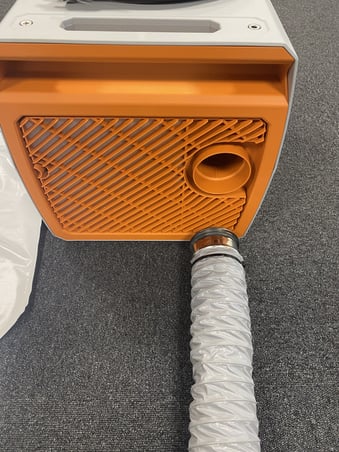
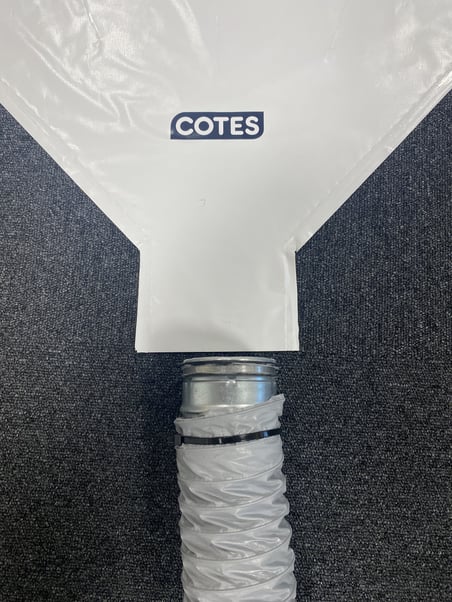
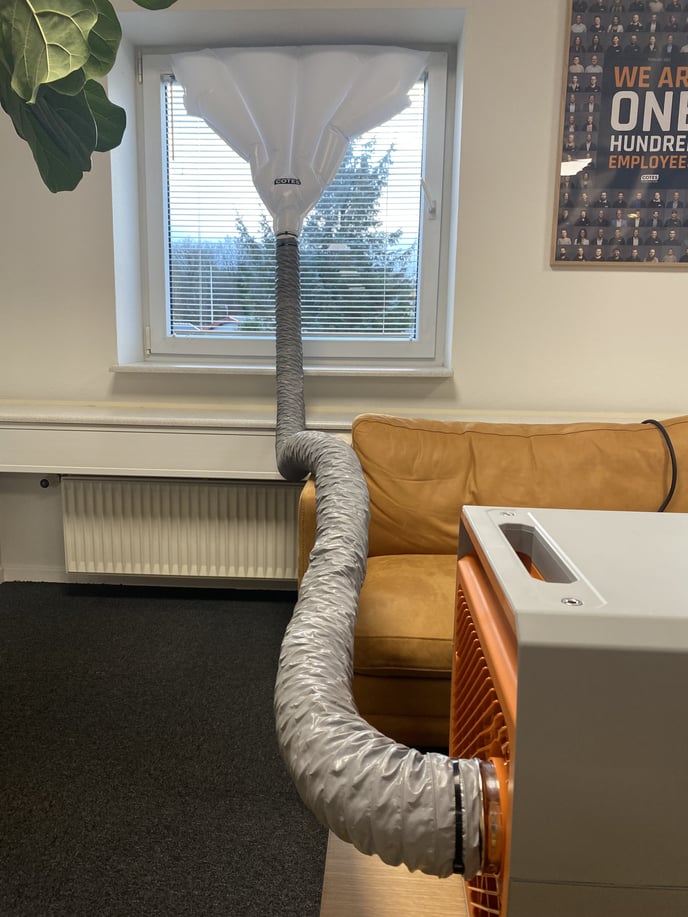
Step 2:Attach the 2m Ventilation Hose to the Cotes dehumidifier and inflatable window fitting using the 2 straps and the 2 metal adapter rings provided.The Window Kit is compatible with the following Cotes dehumidifier:
|
  |
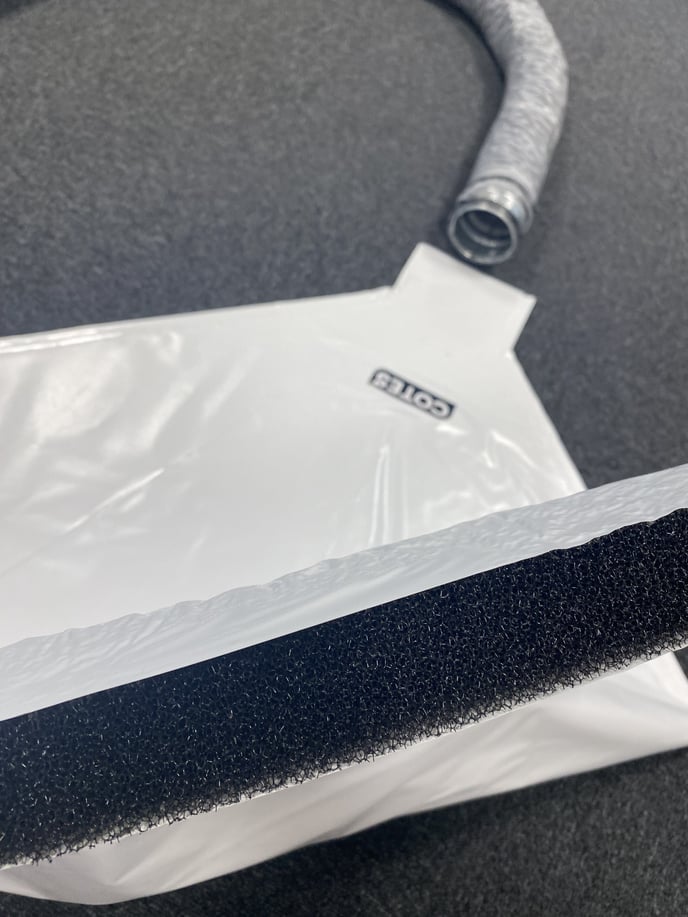
Step 3:Place the inflatable window fitting in a partially open window that can lock in place. Make sure that there is enough of a gap to allow air to flow freely through the inflatable window fitting sponge. |
|
 |
 |

No ventilation gap in your window? No problem!
Follow these simple steps to set up the window kit.
|
Option 1: Use a long wooden bar that fits the window. Keep the window slightly open to place the window kit and secure it with a cable tie to the window handle, preventing the window from opening further.
|
 
|

|
Option 2: Alternatively, use a simple telescopic rod and tie the window handle to it with a cable tie. |
|

